Maintaining the integrity of scientific experiments requires more than just high-quality reagents and calibrated instruments. It demands an uncompromising approach to the cleanliness of your primary containment vessels. Learning how to clean laboratory beakers safely is a fundamental skill for any technician, researcher, or student in South Africa. Contaminants, even in trace amounts, can lead to skewed results, failed reactions, or dangerous chemical interactions. This comprehensive guide explores the best practices for decontaminating scientific glassware procedures, ensuring that your borosilicate beakers and flasks remain analytical grade for their entire lifespan.

The Importance of Analytical Grade Cleanliness in the Lab
In a professional laboratory environment, a beaker that looks clean to the naked eye may still harbor microscopic residues. These residues can include metal ions, organic surfactants, or pH-altering films. Achieving analytical grade cleanliness ensures that the vessel does not contribute any foreign substances to the solution it holds. For laboratories in Durban and Johannesburg that handle sensitive pharmaceutical or environmental testing, following a strict laboratory vessel maintenance guide South Africa is essential for regulatory compliance and data accuracy.
Borosilicate glass is preferred in these settings due to its thermal resistance and chemical durability. However, the surface of the glass can become compromised if cleaned incorrectly. Using improper techniques can lead to etching, which creates tiny crevices where bacteria or chemicals can hide, making future sterilization nearly impossible. Understanding how to clean laboratory beakers safely involves protecting the structural integrity of the glass while removing every trace of the previous experiment.

Standard Operating Procedure (SOP) for Cleaning Lab Glassware
A standardized cleaning protocol reduces variability in experimental results. Whether you are working in an educational institution or a high-volume industrial lab, your SOP should prioritize both safety and efficacy. The process begins the moment the beaker is emptied, as allowing residues to dry and harden makes the cleaning process significantly more difficult and increases the risk of glass breakage during scrubbing.
1. Initial Rinse and Decontamination Protocols
The first step in any decontamination routine is an immediate rinse. If the substance used was water-soluble, a thorough rinse with deionized water may suffice as a preliminary measure. For non-polar substances or hazardous chemicals, decontaminating scientific glassware procedures require the use of a suitable solvent. Always perform the initial rinse in a manner that contains the waste, especially when dealing with heavy metals or toxic organic compounds. This initial step prevents the “baking on” of residues which can happen if beakers are left on a lab bench for extended periods.
2. Selecting Chemical-Resistant Cleaning Agents
Not all detergents are created equal for scientific applications. When searching for chemical-resistant cleaning agents for lab glass, avoid high-street dish soaps which often contain perfumes and oils that leave a film. Instead, opt for specialized laboratory detergents that are biodegradable and phosphate-free. These agents are formulated to break down proteins, lipids, and inorganic salts without leaving behind ionic residues. For more stubborn residues, an alkaline wash followed by an acid rinse (such as dilute nitric acid) may be necessary to neutralize the surface and remove metallic traces.
3. Manual vs. Automated Washing Methods
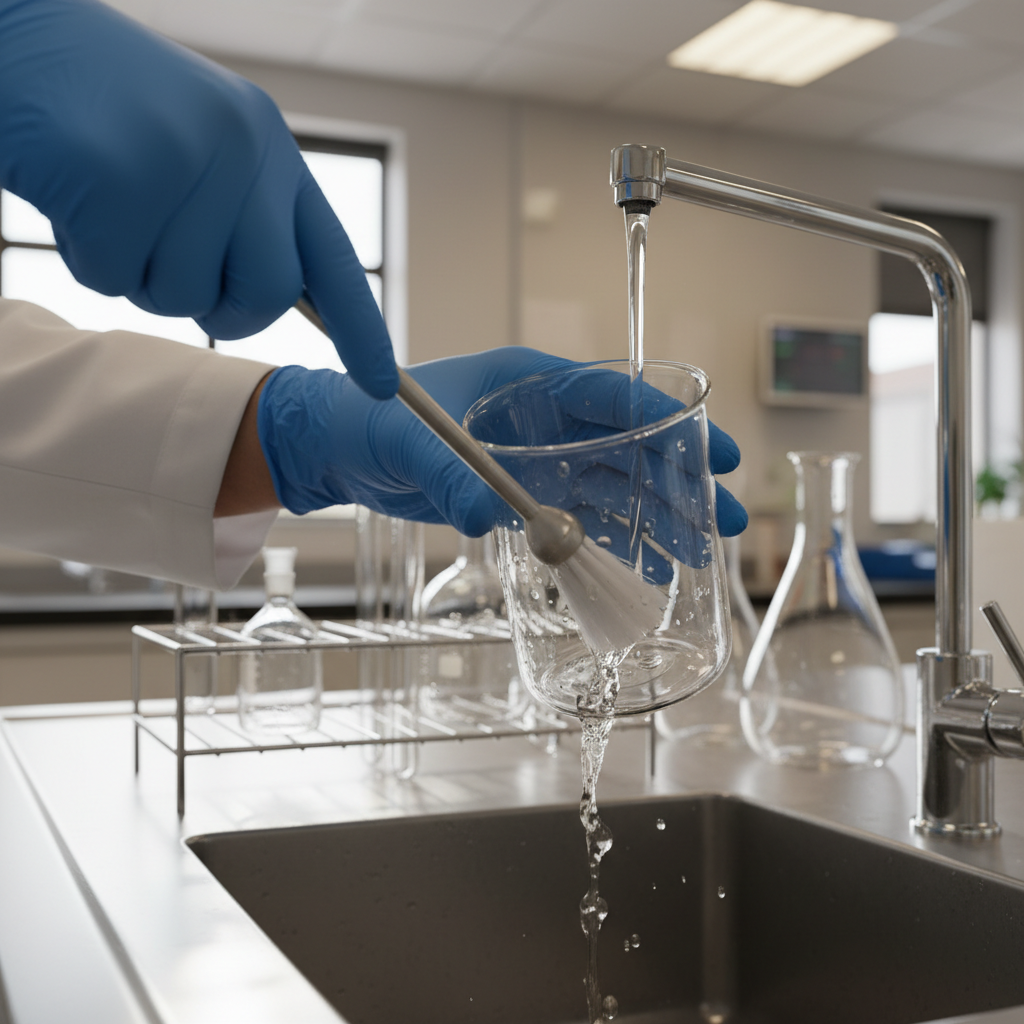
Manual washing is often the most practical method for small batches or oddly shaped glassware. When washing manually, use soft-bristled brushes that do not have exposed metal tips, as these can scratch the glass. Automated laboratory washers, on the other hand, provide a highly reproducible cleaning cycle that includes high-temperature washes and multiple rinse stages. For labs in Johannesburg and Durban with high throughput, automated systems offer better efficiency and reduce the physical handling of glassware, which is a key safety precaution for handling broken or etched lab glass potential.
Removing Stubborn Organic Deposits and Chemical Stains
Organic deposits like grease, wax, or carbonized matter often require more than just detergent. Removing organic deposits from lab flasks and beakers frequently involves the use of organic solvents like acetone or ethanol. If a beaker has been used for heating and has burnt-on residue, a soak in a specialized cleaning solution can loosen the debris. It is critical to remember that certain aggressive cleaning mixtures, like chromic acid or aqua regia, should only be used as a last resort by trained professionals due to their highly corrosive and toxic nature.
For carbonaceous residues, many labs utilize base baths or acid baths. However, the dwell time must be carefully monitored. Prolonged exposure to strong bases can actually dissolve a thin layer of the borosilicate glass, which leads to thinning walls and potential failure under vacuum or heat. Always ensure that the cleaning agent is compatible with the specific type of contaminant you are targeting.
Best Practices for Rinsing and Drying Borosilicate Beakers
The final rinse is perhaps the most important part of the cleaning cycle. After the initial wash, the beaker should be rinsed at least three times with distilled or deionized water. This follows the rinsing protocols for analytical grade glassware, where each successive rinse further dilutes any remaining ions. A “sheeting” test can be performed to check for cleanliness: water should flow smoothly over the surface of the glass in a continuous sheet. If droplets form, the glass still contains grease or oily residues and must be re-washed.
When it comes to drying, the safest way to dry glass beakers after cleaning is to air dry them on a clean, plastic-coated rack. Placing beakers upside down prevents dust from settling inside. If rapid drying is required, a dedicated glassware drying oven can be used. Avoid using compressed air lines, as these often contain trace amounts of oil and moisture from the compressor, which will re-contaminate the freshly cleaned glass. Never use paper towels or cloths, as they introduce lint and fibers into the vessel.
Sterilization and High-Temperature Glass Maintenance
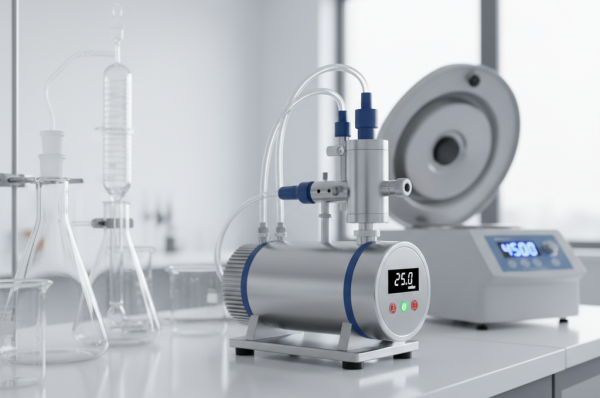
For microbiology and life sciences applications, cleaning must be followed by sterilization. High-temperature glass sterilization methods typically involve the use of an autoclave or a dry heat oven. Borosilicate beakers are designed to withstand the 121 degrees Celsius temperatures used in autoclaving. However, ensure that any caps or fittings are loosened to permit pressure equalization. For dry heat sterilization, temperatures of 160 degrees Celsius for two hours are standard. It is vital to allow the glass to cool slowly; rapid temperature changes, or thermal shock, can cause the glass to crack or shatter unexpectedly.
Safety Precautions: Handling Broken or Etched Glassware
Glassware safety is a non-negotiable aspect of laboratory management. Always inspect beakers for chips, cracks, or deep scratches before and after cleaning. Safety precautions for handling broken or etched lab glass include immediate disposal of compromised items in a dedicated glass sharps container. Etched glass is structurally weaker and poses a significant risk during heating or stirring. Furthermore, when handling glassware that has contained hazardous materials, always wear appropriate personal protective equipment, including chemical-resistant gloves, eye protection, and a lab coat.
Reliable Laboratory Equipment and Support in Durban & Johannesburg
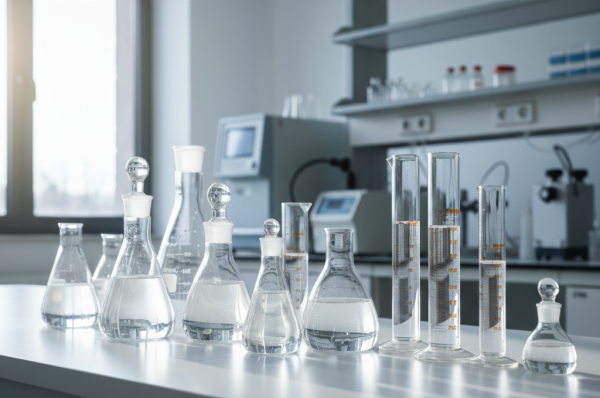
Labsupply is South Africa’s trusted partner for high-quality scientific equipment and glassware. Whether you are setting up a new research facility or need to restock your consumables, we provide a wide range of analytical grade beakers, flasks, and measuring cylinders. Our expertise extends beyond supply; we offer technical guidance to ensure you are using the right tools for your specific chemical or biological applications. With branches in Durban and Johannesburg, we support laboratories across Africa with reliable products and professional service.
- Premium Borosilicate Beakers and Flasks
- High-Performance Vacuum Pumps and Centrifuges
- Muffle Furnaces for High-Temperature Applications
- Quality Cleaning Agents and Lab Safety Equipment
If you require assistance in selecting the best practices for sanitizing borosilicate beakers or need to source specialized laboratory products, our team is ready to help. We are available from 08:00 am to 04:30 pm, Monday to Friday.
Durban Branch:
19 Martin Drive, Queensmead Industrial, Queensburgh, Durban, 4093
Tel: +27 (31) 463 2572
Email: sales@labsupply.co.za
Johannesburg Branch:
Punchbowl Industrial Park, Unit 2, 512 West Avenue, Ferndale, Randburg, 2194
Tel: 010 054 6015
Email: jhbsales@labsupply.co.za
Contact us today via WhatsApp at +27 83 301 3034 for expert advice and nationwide delivery support.
Related Articles